We have always used bar stools at our kitchen island.

It has been a convenient way to interact with hubby, especially in the evenings after work. I could cook and do dishes while he ate, looked at the mail, even finished up his work paperwork.
But lately, we both seem to be bothered by the stools.
Every time we got up off the stools,
we felt as though we couldn't walk.
We couldn't stand up straight.
Our hips ached.
Every time we got up off the stools,
we felt as though we couldn't walk.
We couldn't stand up straight.
Our hips ached.
Okay, so our ages may have something to do with that! But are sticking to the theory that the stools are to blame.
I love a good trash to treasure challenge!
I love a good trash to treasure challenge!
So I dug out an old table that was sitting in the basement collecting dust. It was an old pine table our (now grown ) children used for doing school work during our homeschool days. Their pens and pencils left indentation marks all over the soft pine surface which prompted hubby to glue a piece of laminate on it. However, now even the laminate was showing signs of wear.
SO, I took matters into my own hands, and decided to turn this old table into a new,
one of kind treasure!
one of kind treasure!
The wheels began turning!
I figured I could just go crazy,
and throw caution to the wind.
After all, it was just an old table, right?
It had been given to us free
many years ago.
I figured I could just go crazy,
and throw caution to the wind.
After all, it was just an old table, right?
It had been given to us free
many years ago.
Firstly, I removed the old laminate with a heat gun to reveal the original pine finish.


I painted the table legs black.
(no picture, sorry)
(no picture, sorry)
I'm into black these days!
I'm also into burlap!
SO....
I started with a clean (sanded) surface.
I got Hubs to add a little piece of trim around the top outside edges the table top, and I stained it.


I cut a piece of burlap to fit and glued it tight to the table top with some spray adhesive.
The table top was painted black first to serve as a backdrop for the burlap.
The table top was painted black first to serve as a backdrop for the burlap.
.....And we allowed it to dry over night.

NOW, this is where it gets interesting....
After vacuuming off the surface to get rid of all the hairy burlap debris...

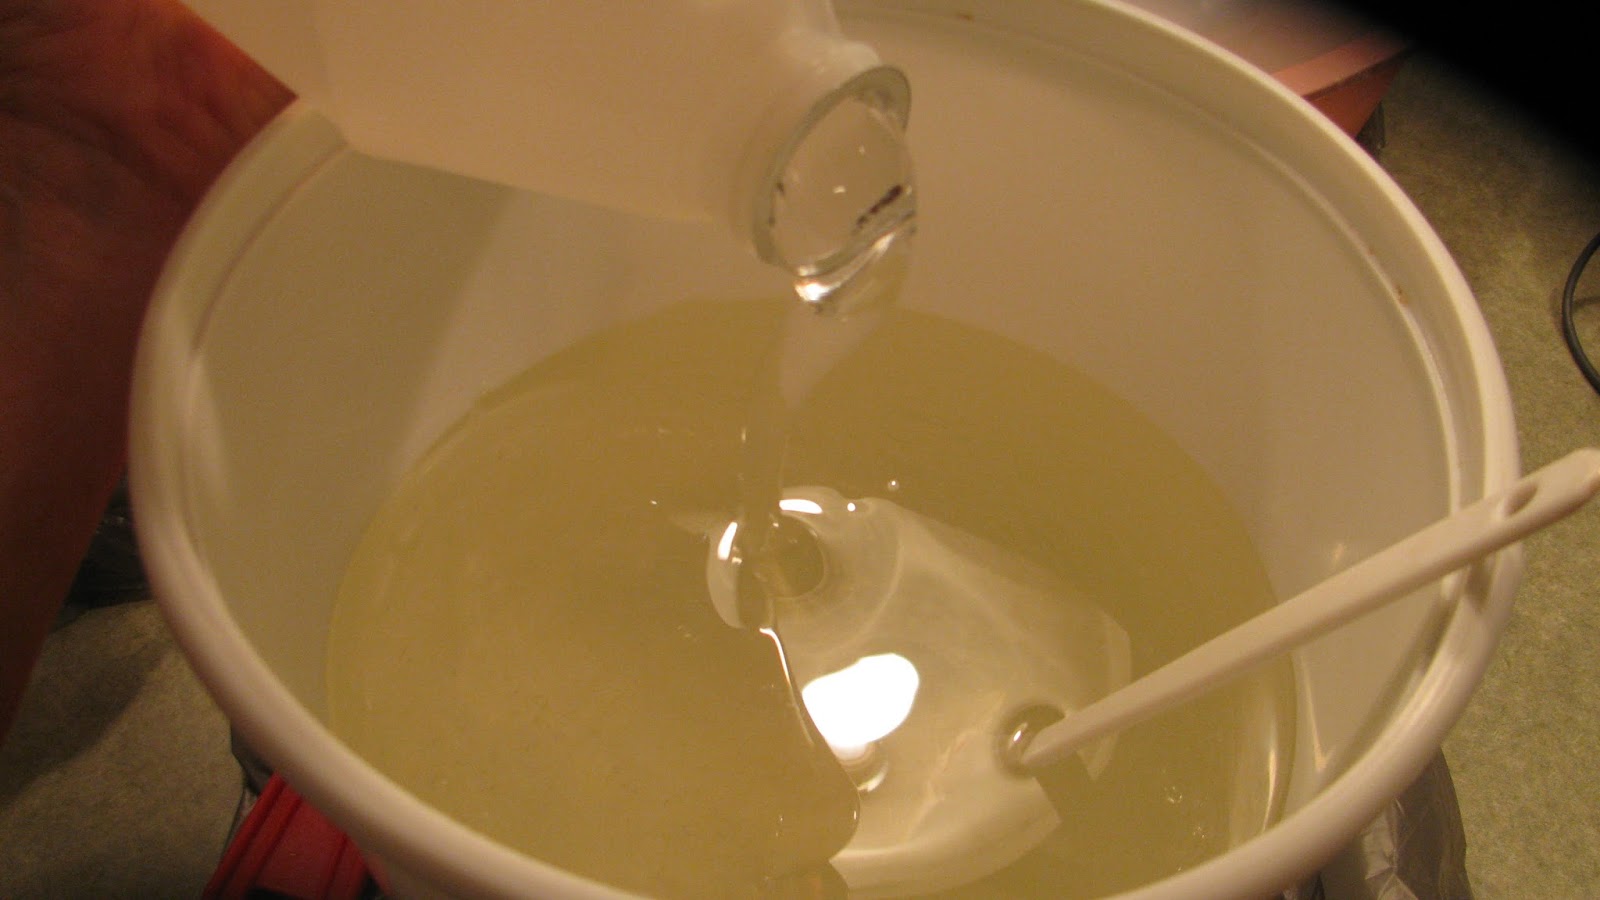
It was time to mix up this pourable epoxy resin product
(purchased at the local Lowe's)
according to the instructions-of course!
(purchased at the local Lowe's)
according to the instructions-of course!
I poured the first layer over the top.
The next day,
I sanded the surface and wiped the top with acetone and then applied another coat.
I sanded the surface and wiped the top with acetone and then applied another coat.


On the third day, I sanded it yet again, and wiped the table with the acetone.
It was now time for the final pour.
Drum roll please......
Drum roll please......
This would be the moment of truth.
Would my crazy idea work?
or
would it be a bust?
After 3 days of curing-
this is the end result.
Not too shabby, eh?
 Look at that shine! It looks like glass.

Now I just needed some chairs.
Luckily, several months ago,
I purchased 4 chairs from a local "junk" dealer.
I purchased 4 chairs from a local "junk" dealer.
I use the word junk loosely, because to me, most junk can be turned into a treasure....just sayin'.


well...
just because.
I don't particularly like matchy, matchy stuff.

Two of the chairs had cushions, so I reupholstered them with some chicken fabric. (Of course!)
Had enough fabric for a little window topper too!

And the real bonus is
that our hips don't hurt anymore!


click to enlarge photo and get
a good look at the burlap
Linked up to
LOVE the transformation! The burlap top is amazing!!
ReplyDeleteThanks Dana!
DeleteGorgeous and creative girl!!!! Good job.
ReplyDeleteThanks Inez!
DeleteRoos, burlap, what more can a girl ask for. What a cute project!~:)
ReplyDeleteWOW! I love that idea!!!! The burlap looks amazing and rustic, but I love the shine on the top... I was thinking about sticking some burlap on a glass table top (which I hate)... but your tutorial makes me think I might need to do a little more work! And a little more thinking... :) Have a great weekend! Julia
ReplyDelete