Welcome! I'm happy and humbled you've stopped by.....Cozy up and follow along as I share my attempts at simple living with you.
Showing posts with label chicken bags. Show all posts

Friday, April 20, 2012

Chicken Bag Tutorial

If you've been reading this blog for a while, 
you may remember this post 
or this post 
where I first revealed the first chicken bags I made.  

Now, if you're wondering what in the heck is a chicken bag??..

This is a  bag recycled from chicken feed bags.


               (some other feed bags will work as well, ie..some dog food or bird seed bags)

After making several 
and experimenting with techniques for creating the perfect pleated bottom, 
I finally got the bags perfected.  
Well, perhaps not perfect, but doable.  

This is a quick tutorial.  Measurements are not carved in stone.  
Just about anything goes! But this will get you started..

So let's get sewing.....

Begin with a feed bag.


Cut off the bottom of the bag that was factory sewn.

Figure out how big you want your finished bag to be and plan accordingly,
allowing for the top seam (about 2")
 and the bottom seam (about 1/2" - 3/4 ".

Crop off a strip (the excess) across top.  This strip will become your handles.  So you'll need about 3 1/2 or 4 inches. Be sure to cut this line very straight. It will make a nice clean finished product.

Also, take into consideration the picture on the front.

Finished bags should be approximately  
16-18 inches 
(plus the allowance for the top and bottom seam).
   (If you think this seems too tall, don't fret.  Some of this becomes part of the pleated base.)

Turn the bag inside out.  
Do not cut the sides!!

Mark the bottom of your bag with a sharpie where you want to sew in the bottom seam.
  (keeping in mind the picture on the front)
 Measure about 4 1/4 inches from the side and then turn toward the middle and pin. 
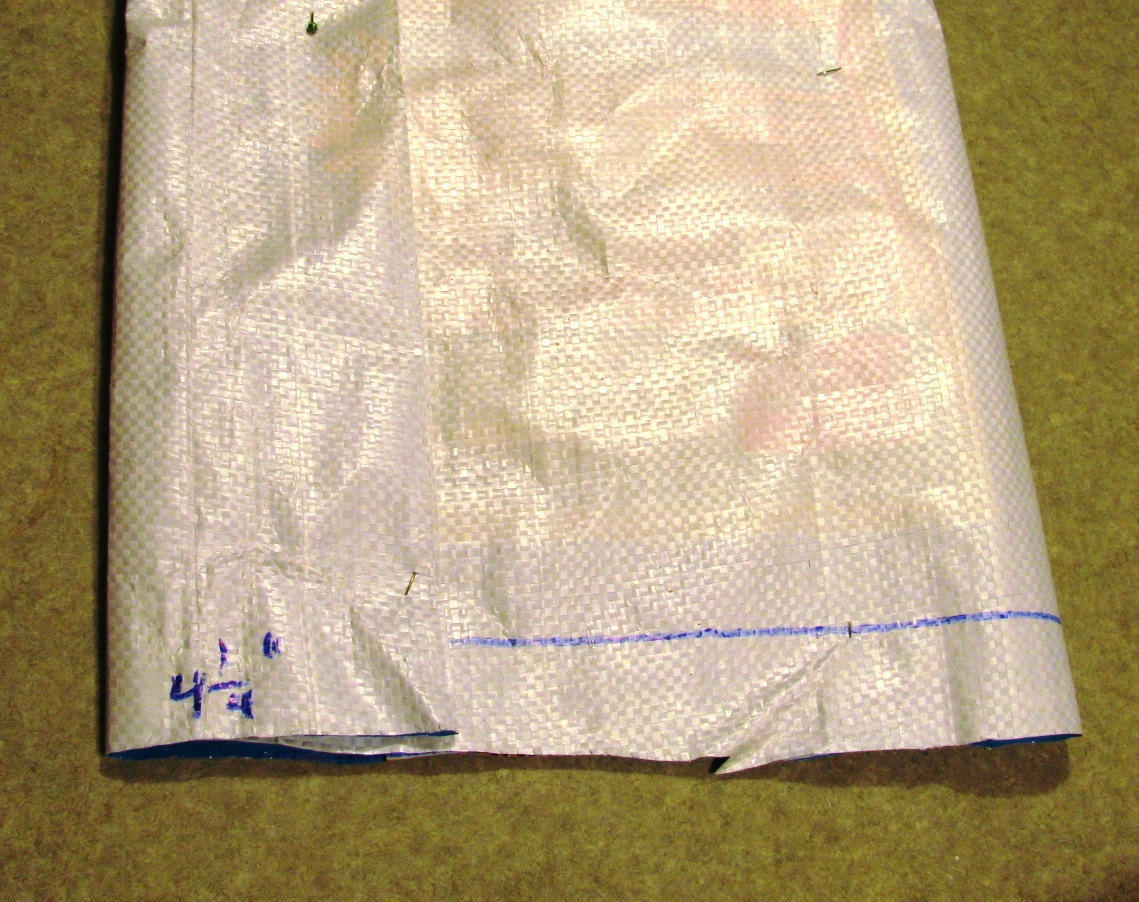

 Do the same for the other side as well. 

SEW the seam across the bottom.

Turn your bag so the right side is out. 
This is the tricky part.  
When you flip your bag to the right side, manipulate the bottom seam so that you have triangles on the inside bottom of your bag.  Like this...
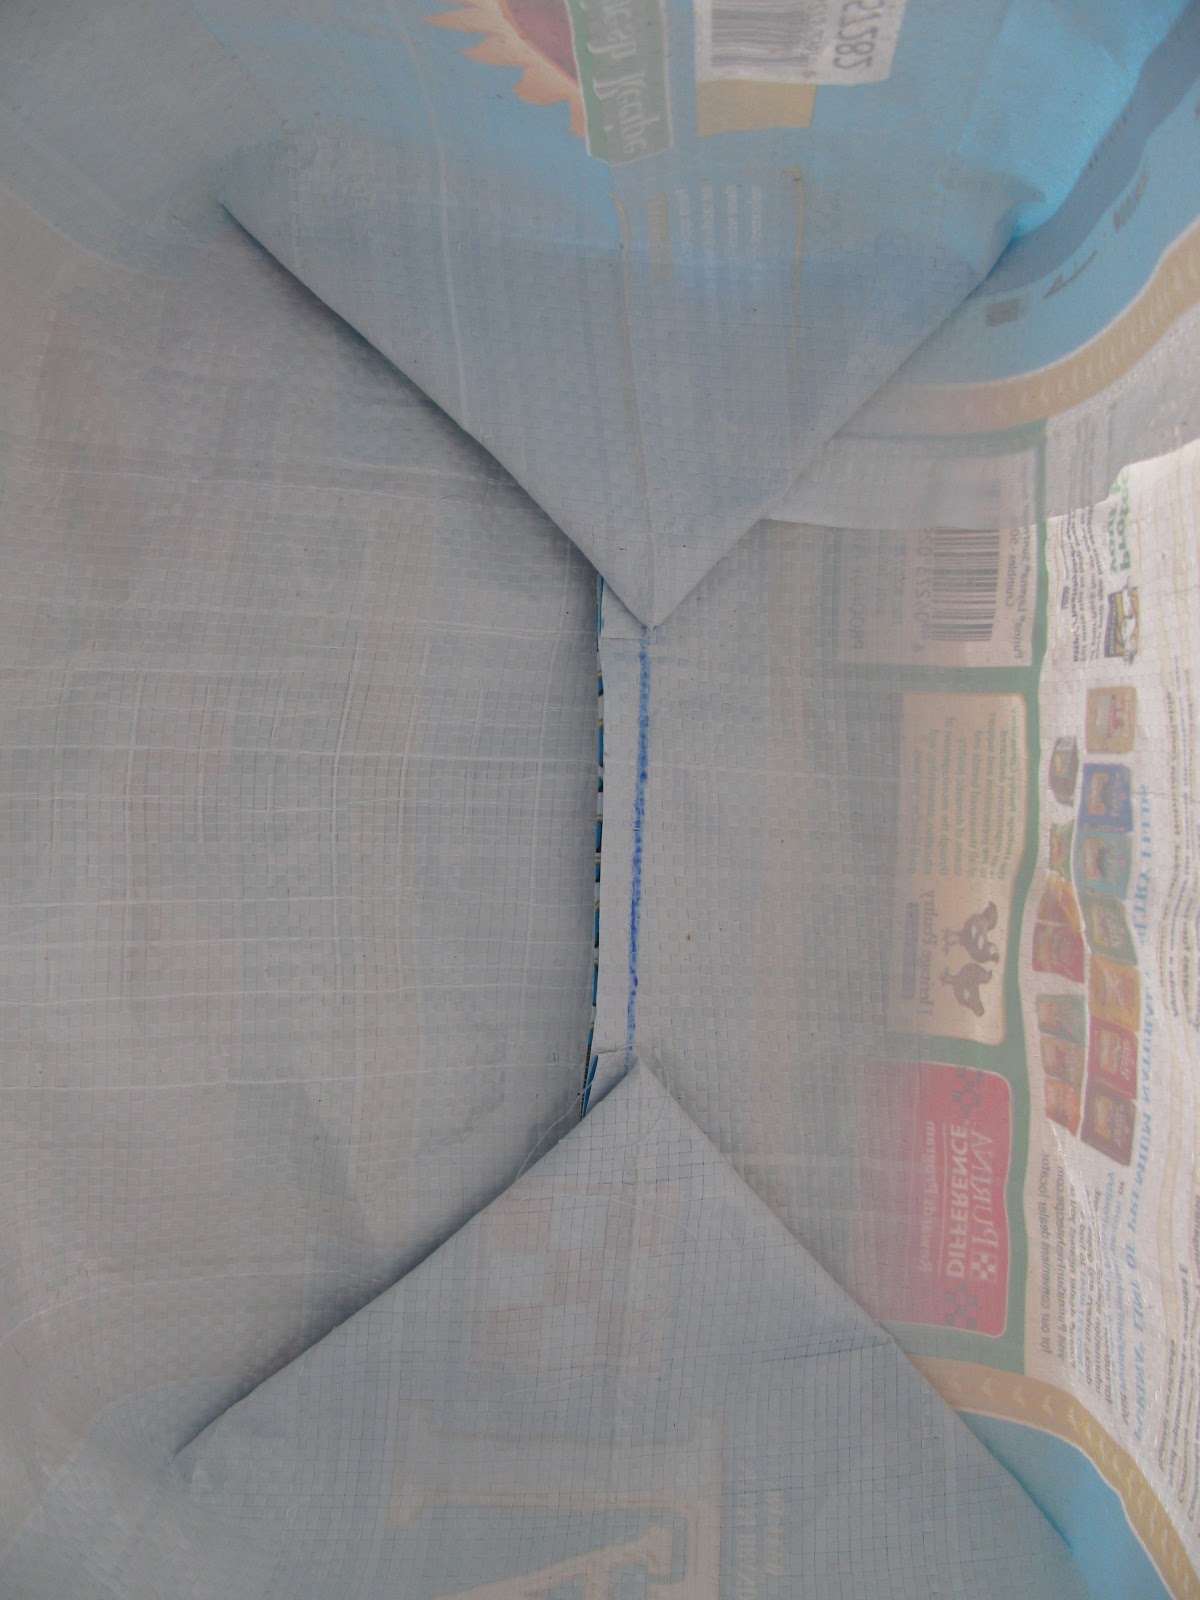

This is what gives your bag that base like a reusable grocery bag.

Turn down the top of your bag about 2 or 3 inches. Pin it. And Sew. 
 (straight stitch or zig zag)

Take the strip you cut from the top of your bag (cut down to 3 1/2 -4") and cut it so you have a long strip.
Tri-fold the strip, pinning as you go.
Sew the strip. 

 Cut the long strip (you have just stitched) in half.
This makes 2 short handles.

Pin handles on your bag and sew. 
 (One strip is sewed to the front, the other to the back.  
In other words, don't put your straps across the top of the bag!)


 I used lots of zigzagging stitches to ensure the handles would hold.


And there you have it!!

Your very own chicken bag that is sure to get some attention at the grocery store check out!


I also made a smaller, scaled down bag from a sunflower seed bag. 


On this bag, I did cut the side seams to make it smaller.  This is my Michaels bag!  
When the bag is full, it's time to get outta the store!!

Happy Sewing!  
I'd love to see your creations.
Email me!!

Got Questions???
Leave a comment!!


Thursday, December 22, 2011

Spreading the Joy

I've been really focused on keeping Joy in our Christmas this year.  The kind of Joy that comes to us because of a baby born in a manger for ALL, 
that we might have JOY!

I've written a little meditation about Joy for our family newsletter. In case you missed it, you can read it here.  

I want Joy for myself, for my family and for all of those whose lives I'm able to touch in some small way.  

So today, I wanted to share some of the things that are bringing
JOY 
to our friends and family.........

Not only did I declare this to be a Christmas filled with Joy, but also a Christmas filled with fun......
I've declared this to be a 
REDNECK Holiday!

Every year, I open up our home and become the 
hostess with the mostess 
for Hubby's family.  

I enjoy it.
I enjoy going the extra mile each year.  
I try to make it fun and enjoyable.  
Here are just a few of the homemade gifts I've given over the last few years...


*maxi pad slippers* 


 *signs*


*tampon angels*


 *herb and vanilla basket*


So this (redneck) year I made a chicken bag out of these feed bags for each family.....


My niece plans to be a Vet so I made hers from
this dog food bag.

......And filled each one with something
recycled,
reused,
repurposed, 
redneck,
and/or homemade!

Here are a few samples
(keep in mind this was just for fun!)


A redneck (spring) candle

These smelly earrings were crafted by using a
car freshener lei.  

We had a lot of fun with the redneck gifts.
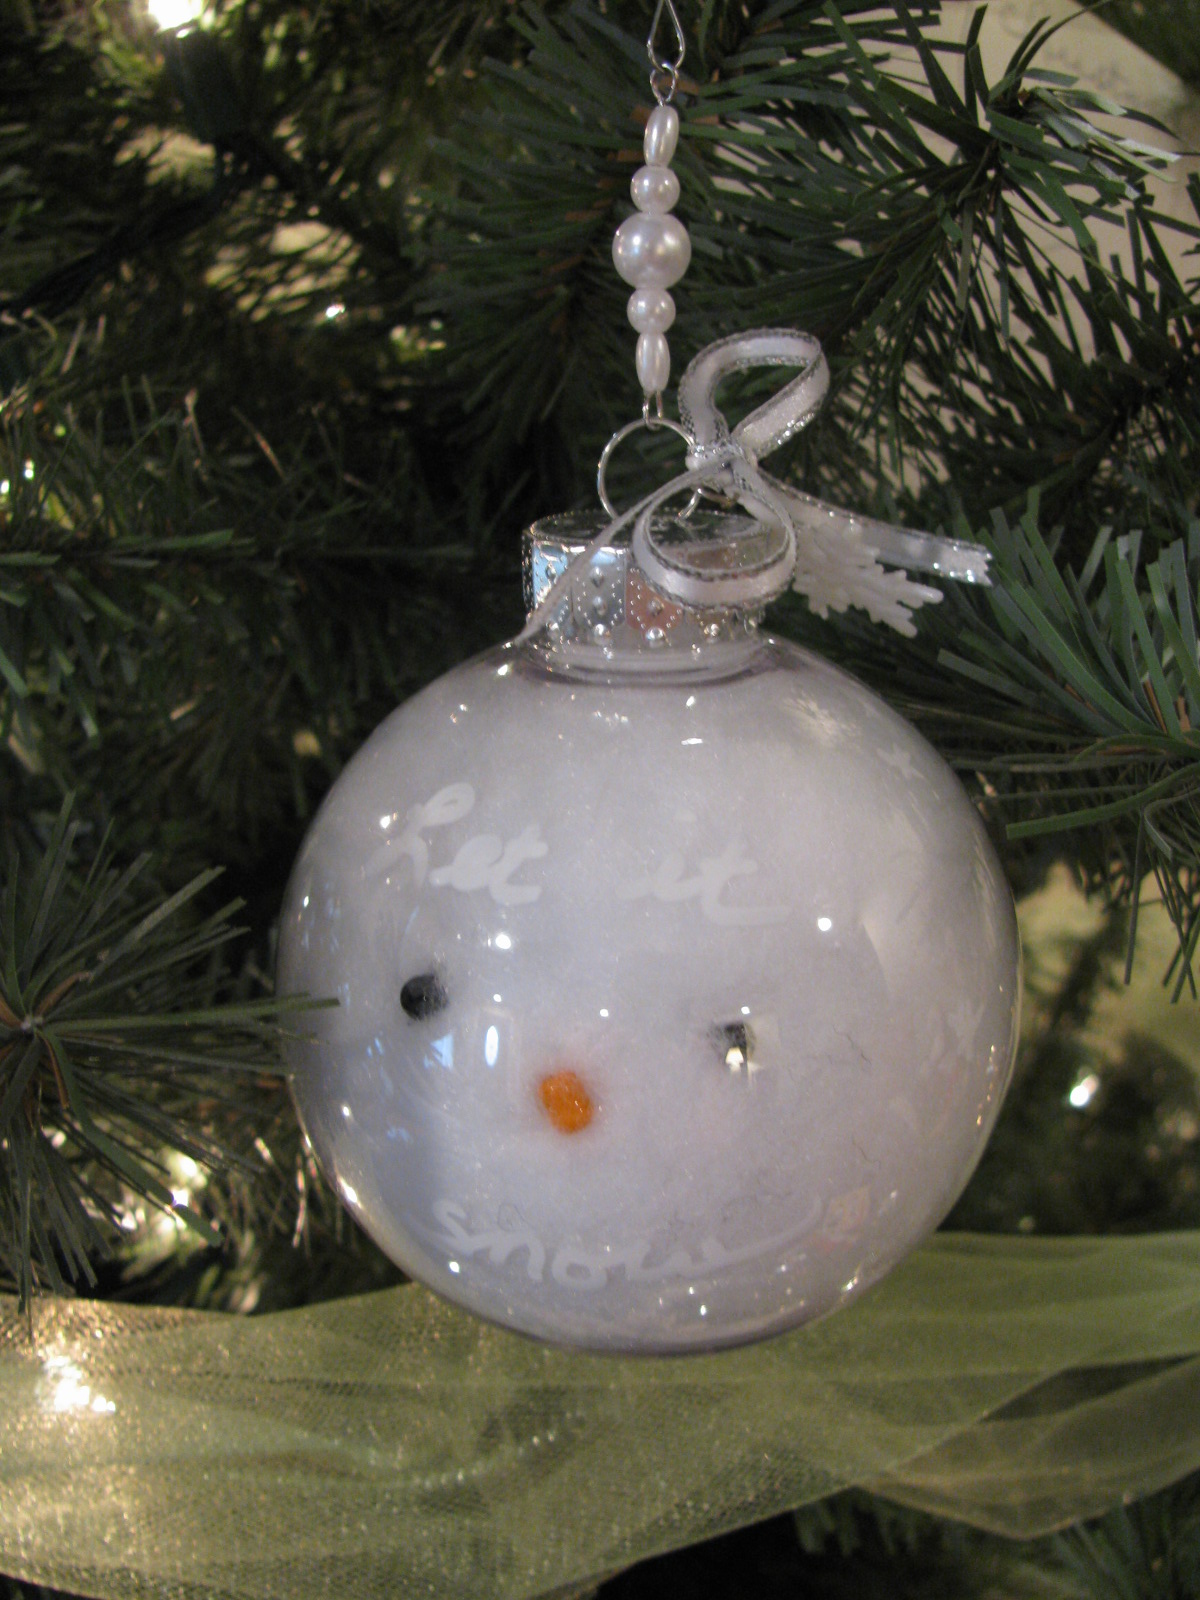
I also made an ornament for every family made from the feathers of our chickens and turkey. (Recycling at its best)


Each were unique,
and many had
peace
joy
or
let it snow
written on them.  

I made these as well..

Jack and I made this to give to his mama and daddy.

I made this one for the snow lover in my life.


This may be my last post before Christmas, unless I find the time and energy to post some recipes.  So I'd like to leave you with our Christmas card.
I made 25 of these buggers, everyone unique. 
But so much fun!  


white embossing

green embossing


Wishing you all a
Very Merry Christmas
Tammy


Sunday, January 9, 2011

The Aftermath

I've been struggling to recoup from the holidays. There's so much to do and so little time. In trying to restore order after the barrage of gifts and food, I found myself getting sidetracked by working on projects that have been shoved to the wayside the last month or so.  While I managed to get the Christmas tree down, the rest of the decorations are still up (except for the fresh pine that was removed the day after). 


My wonderful hubby bought me one of those gadgets to record your old VHS videos onto DVD.  I spent several afternoons and evenings playing with it.  And though I have a long way to go, I got a great start.  It is a project that takes you down memory lane.  Some days I wasn't sure whether to laugh, or to cry.  Here's just a snippet from the good ol' days of having little ones in the house.  This is my little girl (who is now 24 and a mommy of 1) getting down and dirty in the kitchen.  We began the training young around here!


Because I had to set up this new recording device in our office/craft room, I had to do some cleaning and reorganizing first.  And my work/craft table was first on the hit list.


And then I got this brilliant idea as I was sorting through my photos for scrapping, crafts, fabric and sewing projects (that I may never get to). Immediately I had to  stop cleaning and begin sewing.  


click to enlarge
  I'm a trash to treasure girl.  So I was thrilled with the results of my efforts. After several hours, I had 4 of these clever(recycled)grocery bags made from chicken feed bags.  I have one more to make.  Its a beautiful bird food bag with vibrant colors and of course, birds!  Each year at Christmas, I make up a little homemade gift for the sisters-in-law.  There's a good chance they'll get a recycled bag filled with some kind of homemade goodie;)


AND SPEAKING OF THE SISTERS-IN-LAW...Pulling off a nice gift of the homemade variety often takes some planning ahead.  This year I worked all summer to pull off this year's gift.  It turned out to be a really nice gift.  Check it out.

I cut and dried herbs all summer long.  Put the dried herbs in little packages purchased at Michaels. Made vanilla (several months before) using the tips on making homemade vanilla at Tammy's Recipes.  It's wonderful BTW.  Included an herb guide on what each herb is used for.  And wrapped it all up nicely with a Christmas towel purchased at a discount store.  Each SIL also received a tampon angel for a little humor!  


Thats all for now.  Still a lot of projects and organizing to do. Until we meet again............

Printfriendly

LinkWithin

Blog Widget by LinkWithin