Welcome! I'm happy and humbled you've stopped by.....Cozy up and follow along as I share my attempts at simple living with you.
Showing posts with label trash to treasure. Show all posts

Friday, September 19, 2014

Milk Paint Magic

Milk Paint......
This is a topic I have wanted to blog about for a long time! 

It's been at least a year, maybe more, that I discovered 
Milk Paint. 

I'm in love with stuff....
okay, not really..
but you know what I mean.  

I stumbled across 
Also known as Marian.

And I just had to learn more.

So I watched a few of her videos.
Bought me some 
Miss Mustard Seed Milk Paint.
And got busy. 


I started with a piece of furniture that I found in an old farmhouse we had purchased back in 1999.  I don't have a picture of it. But I did save this knob which has now been re-purposed on this coat rack.  
The coat rack itself is also re-purposed.
  It was a piece of trim from that same old farmhouse. 


Had I known that turquoise was going to make a comeback, I would have never touched it.  
But I didn't know that.
SO, I laboriously stripped, and re finished the cabinet. 
Painted the doors
and added some punched tin inserts.


Which brings us to today....
It was time for yet another makeover.
This time using 
Miss Mustard Seed's 
Milk Paint

Take a look...


Jazzed up the cabinet with some new knobs!


The color I chose is called 
Typewriter.
(I applied a coat of wax when it was finished)


I love it
And it was so easy.
I'm ready to Milk Paint anything that will sit still long enough to be painted!

If you want to give it try
Check out Miss Mustard Seed here.
Or watch her videos here.

Keepin' it Simple
Tammy


Tuesday, January 28, 2014

Post Christmas Busyness (and a trash to treasure!)

Greetings....


Let's do first things first and allow me to apologize for abandoning both you and this blog.
Where does time go?
 It seems as though the older one gets, the faster time flies.
Why is that??

Okay, so allow me to catch you up.....


We had a lovely holiday.  I hope you can say the same.

 We rang in the new year with friends.
We had a great time, just staying in and playing games.
 You know...
good friends + good food = great time!

Hubs really gets into playing Wii! 

For me, the new year has always been the perfect time to do some organizing.
It's the time of year, when we're held up inside.
 No gardening to do.
No holiday preparations.


So once the decorations were taken down and replaced with our home's usual vintage-ish decor,  I got busy on some re-organizing and purging.  As the title of this blog implies, I'm very into keeping things simple.
 While I can't really call myself a minimalist,
I do like to keep things simple, clutter free and organized.
So I started with the closet where I keep the wrapping paper, since it was a mess after all that holiday wrapping.


With all the snow (and cold) in these parts, we have had ample opportunity to play in the snow.
The dog loves the snow!
Okay, so she really doesn't care.
 She just likes to play.
When we take potty breaks, allowing her time to burn up some energy is a must.  Some days, we even have 
doggy play dates 
with a friendly German Shepherd.


I have been enjoying watching the birds this winter,  I have taken some awesome pictures out my front window that I plan to share with you each (Foto) Friday.   Hopefully, I can follow through on this!  :)


So as promised, 
a trash to treasure.  
While cleaning out a closet, I came across this cosmetic travel case.


 I can honestly say, I never use it anymore.
However, I deemed it keep-able.
But it was in need of a makeover.
 Sorry I didn't get a before picture of the inside.
Suffice it to say it was worn and ugly.


So a little scrapbook paper and a piece of burlap gave it a 
cute and quick fix. 
(I used spray adhesive for both the paper and the burlap)


At first, I thought it might make a good magazine holder for the bathroom.


But in the end, I needed something for some miscellaneous stuff in my bathroom.


Walah!

 In case you're wondering about this case....
 Yep, it was mine.... 
Given to me on my first day of beauty school some 35+ years ago.
 It seems like a lifetime ago.  
Since then.... 
I have raised and homeschooled 2 children....
and am currently caring for 2 darling grandchildren...
teaching water aerobics at the Y.....
 and yes, I am 
head chicken keeper and gardener.
One just never knows where life will lead them!


HAPPY NEW YEAR!


Thursday, August 15, 2013

A New Table and Chairs


We have always used bar stools at our kitchen island.
  

It has been a convenient way to interact with hubby, especially in the evenings after work.  I could cook and do dishes while he ate, looked at the mail, even  finished up his work paperwork.  
But lately, we both seem to be bothered by the stools.  
Every time we got up off the stools, 
we felt as though we couldn't walk.
We couldn't stand up straight.  
Our hips ached.  

Okay, so our ages may have something to do with that! But are sticking to the theory that the stools are to blame.

I love a good trash to treasure challenge!

So I dug out an old table that was sitting in the basement collecting dust. It was an old pine table our (now grown ) children used for doing school work during our homeschool days.  Their pens and pencils left indentation marks all over the soft pine surface which prompted hubby to glue a piece of laminate on it.  However, now even the laminate was showing signs of wear.  

SO, I took matters into my own hands, and decided to turn this old table into a new,
 one of kind treasure!  

The wheels began turning! 
I figured I could just go crazy,
and throw caution to the wind.  
After all, it was just an old table, right? 
It had been given to us free
 many years ago.


Firstly, I removed the old  laminate with a heat gun to reveal the original pine finish.  


I painted the table legs black.
(no picture, sorry)  
I'm into black these days!

 I'm also into burlap!
SO....

I started with a clean (sanded) surface.

I got Hubs to add a little piece of trim around the top outside edges the table top, and I stained it. 


I cut a piece of burlap to fit and glued it tight to the table top with some spray adhesive.

The table top was painted black first to serve as a backdrop for the burlap.

.....And we allowed it to dry over night.


NOW, this is where it gets interesting....
After vacuuming off the surface to get rid of all the hairy burlap debris...


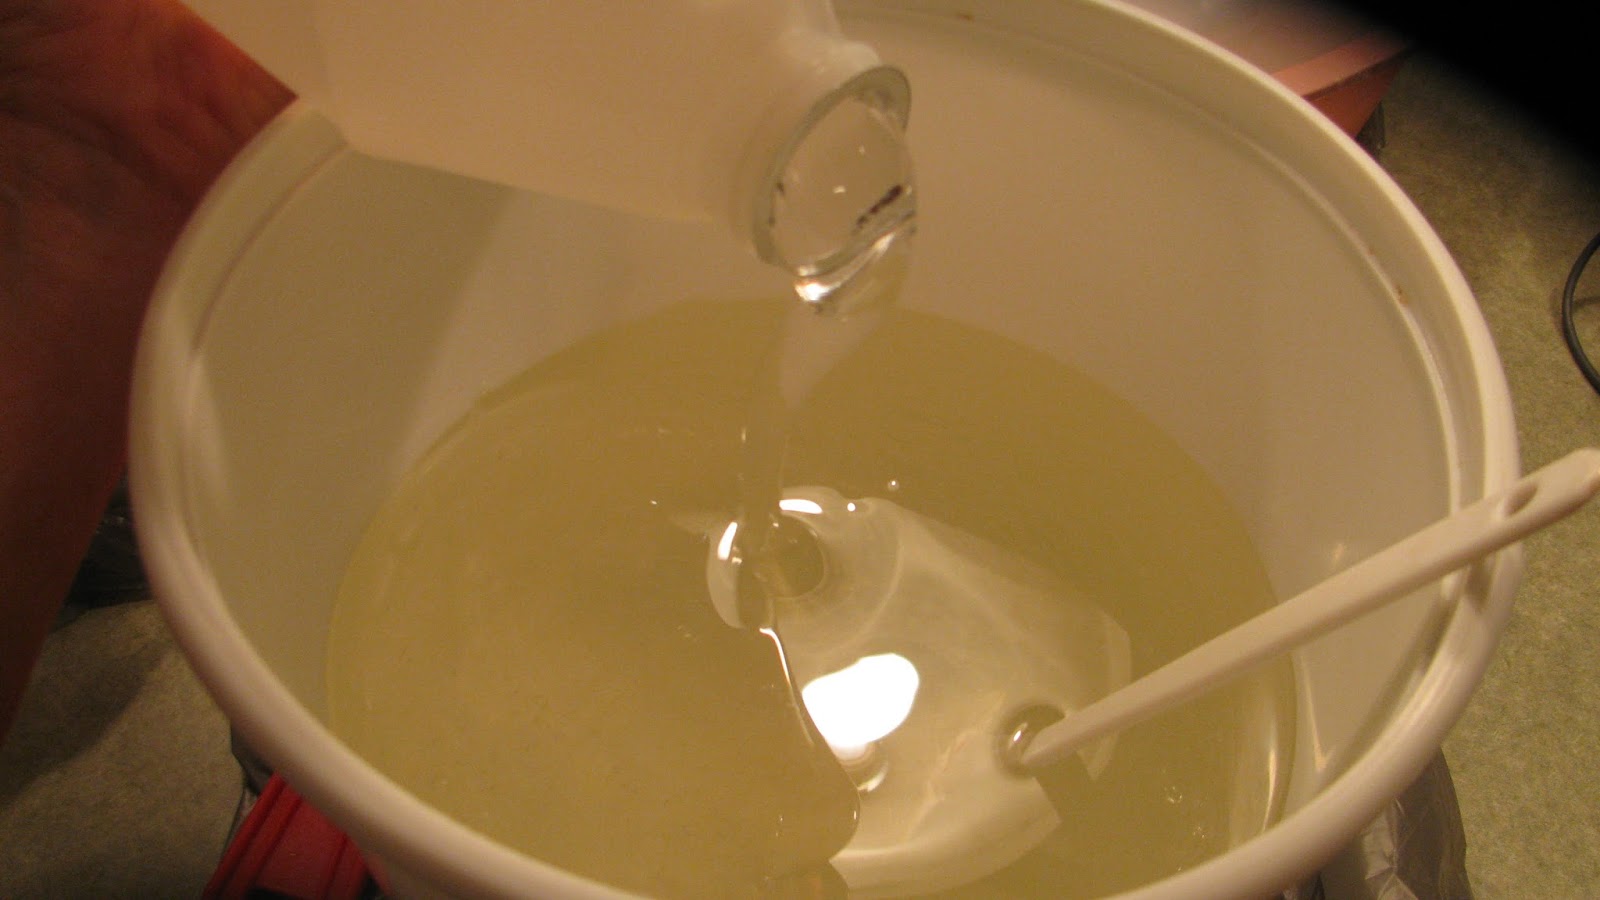
It was time to  mix up this pourable epoxy resin product 
(purchased at the local Lowe's)

according to the instructions-of course!

I poured the first layer over the top.

The next day,
 I sanded the surface and wiped the top with acetone and then applied another coat. 


On the third day, I sanded it yet again, and wiped the table with the acetone.  

It was now time for the final pour.  
Drum roll please......
This would be the moment of truth. 
Would my crazy idea work? 
or
would it be a bust?

After 3 days of curing-
this is the end result.  
Not too shabby, eh?  


Look at that shine! It looks like glass.

Now I just needed some chairs.
Luckily, several months ago,
 I purchased 4 chairs from a local "junk" dealer.  


I use the word junk loosely, because to  me, most junk can be turned into a treasure....just sayin'.


Two coats of paint was all it took to get them lookin' good.  I left one of them white.....
well...
just because. 
 I don't particularly like matchy, matchy stuff.
Two of the chairs had cushions, so I reupholstered them with some chicken fabric.   (Of course!) 
Had enough fabric for a little window topper too!


 So now instead of sitting on bar stools, we are enjoying our "new" table and chairs.  
And the real bonus is 
that our hips don't hurt anymore! 


click to enlarge photo and get 
a good look at the burlap


Linked up to 

Wednesday, August 22, 2012

A Newly Repurposed Headboard

Hubs is a Construction Manager.

He tackles HUGE commercial jobs..
like this one...


He has been on this 
Hospital Campus 
for 7 years now.  

From time to time,
he has the opportunity to salvage things that are headed to a 
dumpster....
like this one ...

which will then be headed to a land fill 
...somewhere..

One day, he rescued this old door
which had the glass panes 
already removed.


He sanded it for me
Sweet of him, huh?


And I got to work, painting.


 After several coats of paint, 
and drying
I took the sander  over the edges to create that old weathered look!


I found some fabric that totally 
tickled my gizzard 
for the backing....

I used hubs' pneumatic staple gun to attach the fabric and batting...
(he has some of the coolest tools!)


and WALAH!


 Easy Peasy!

Our bedroom makeover is now complete!
It only took 7 months!!


 For the before and after pictures, 


Printfriendly

LinkWithin

Blog Widget by LinkWithin