Welcome! I'm happy and humbled you've stopped by.....Cozy up and follow along as I share my attempts at simple living with you.
Showing posts with label preserving. Show all posts

Saturday, September 13, 2014

The Season of Harvest


I love this picture....

Of course I love it because it's a picture of my 2 little darlings...
But that's not the only reason.
This is a picture that shows the grandkids enjoying summer....
and at the same time....
if you look closely....
you'll see hubby...
raisin' potatoes.

We're in the process of  transitioning from 
the season of 
SUMMER FUN
to the season of 
HARVEST.


Around here,
you can easily recognize 
Harvest Season.

For one, we're busier than a one armed paper hanger!
(It's been especially challenging this year since we are living in 2 locations.)

But also, our house begins to explode with food stores.  
Everywhere you look is a new cache of food
preserved by either canning, freezing, drying, or being ready to be stored in the root cellar.

Check it out.....


I know this looks like a lot of potatoes for 2 people....
but we'll share :)


This (picture below) is one of my secrets when I pickle beets.
 Using the (twice strained) beet juice in place of the water,
I  freeze extra pickled brine to use when making pickled eggs. 
Pickled eggs are super easy to make once you've pickled your beets.  You just add hard boiled eggs to a jar of beets.  However, more brine is always needed.  That's when I just pull out a jar of frozen brine.  Easy!
Here is my recipe for pickled beets.

(I cut back the sugar to about 3 cups or less to make the additional brine)


Pickled eggs are a staple around here.
I often have them for a fast breakfast!

frozen pickled beet juice

Two pantries are filled...

We ate all our homegrown onions.
Many of them ended up in our tomato sauce.
So we purchased some in bulk at a local farmers coop.  
These will last all winter...


Did I mention we like onions!!????

Do you dehydrate.....
My dehydrator seems to run non stop with veggies for soup as well as herbs, 
like oregano, cilantro, basil and more .....


We still have pumpkin and squash to harvest, 
as well as a few sweet potatoes.  

And hopefully....
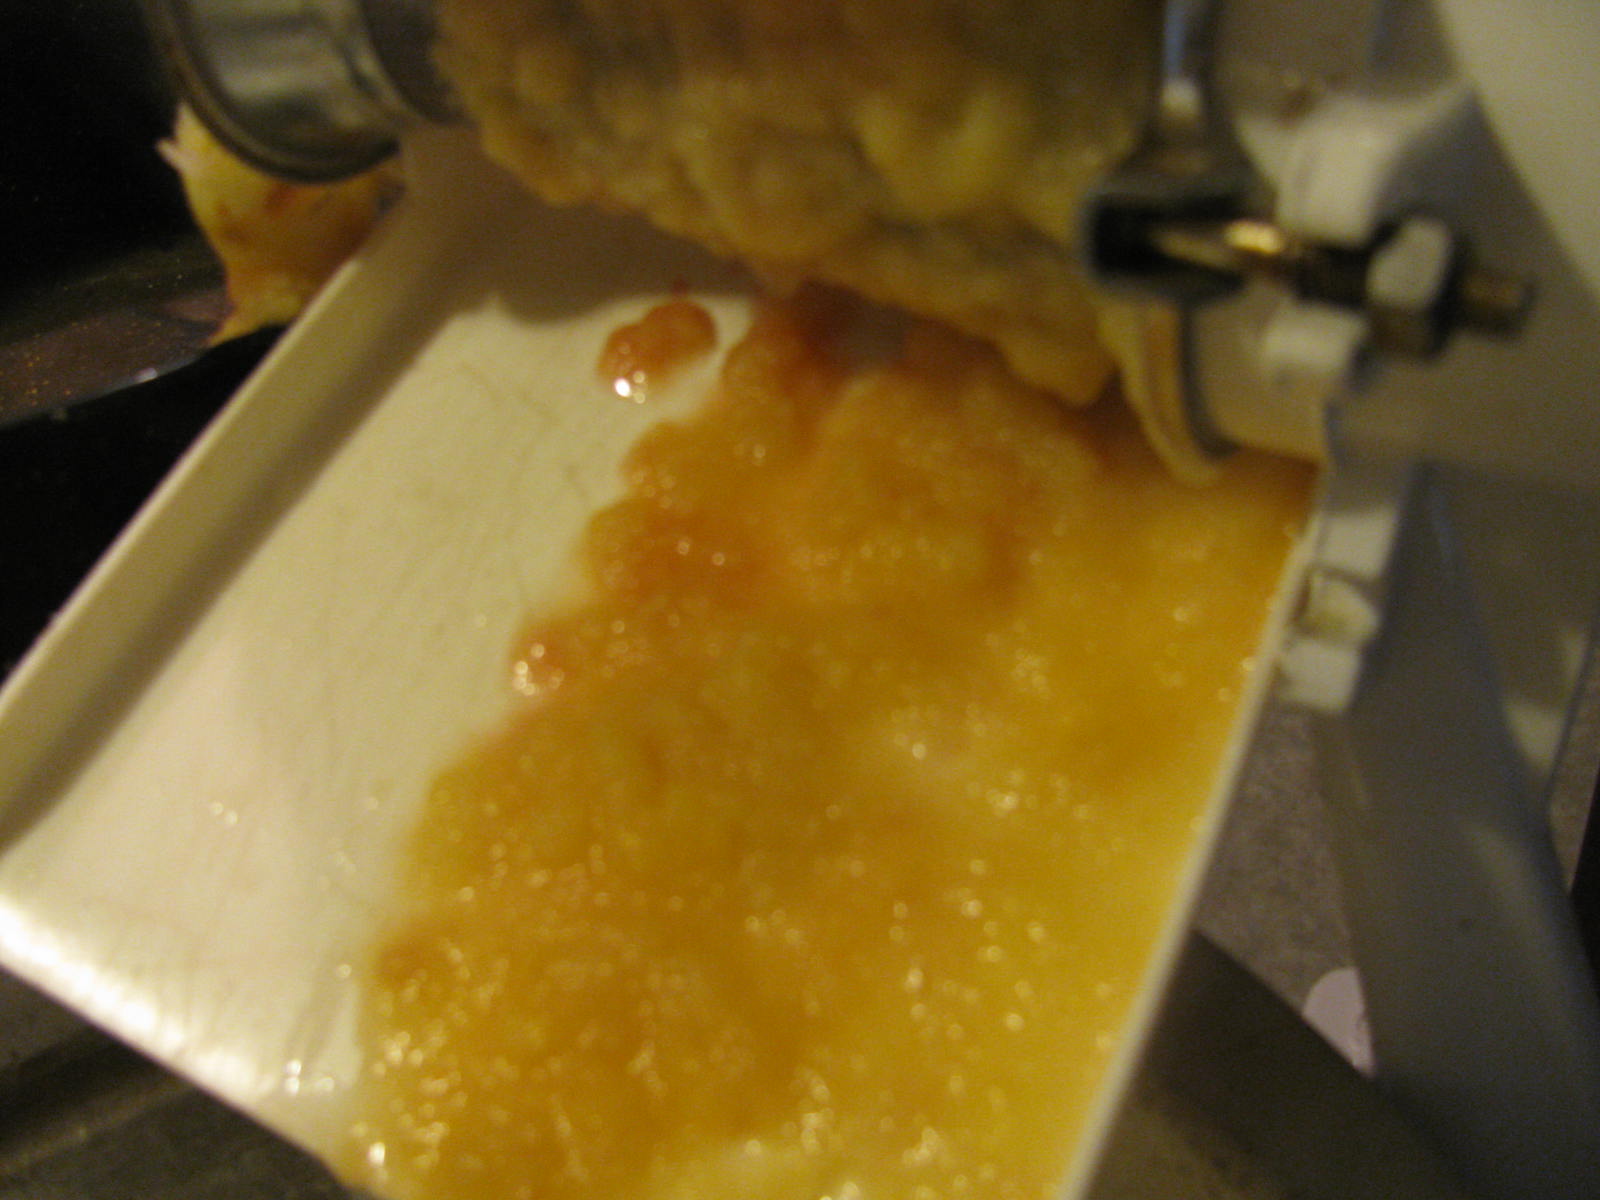
I'll be able to get my hands on some apples for some homemade applesauce
and some
PIE!


So there you have it!
We're ready for winter....

How about you???


Trying to Keep it Simple..
Tammy


Wednesday, October 30, 2013

Stocking up for Winter

Wow, I can't believe it's been a month since my last blog post.  I have such good intentions to post on a more regular basis. But it seems that there is always something vying for my attention.  During the month of October,  we were busy putting our garden to rest for winter and securing our food stockpile for the cold winter months ahead.  

We put an addition our chicken house so we could take a vacation.
  This little overhang allowed the chickens to have a
  SAFE place to hang 
during the day, and at the same time, they can let themselves in and out as they please.  That way, we only needed someone to feed and water them, and  gather the eggs once a day.  

Ugly, huh?  We repurposed some wood removed from someones basement,
 so now I have to paint it.  Always something to do, right?  Sometimes, I think these critters are more trouble than they're worth! 

So.......we did have a chance to get away for some much needed R&R.  Here's a sneak peak of our  little getaway.  I PROMISE to share more pictures SOON!


Gorgeous, huh? 

Okay, so back to the purpose of today's blog.....
Today, I thought I'd share with you our food stores. It's getting easier to put food away since the kids have flown the coop!    At this point, I have nearly everything put away.  Everything that is, except applesauce, which I will probably get to next week.  

My husband thinks we garden because it saves money.  But I don't think we save that much money, especially since there is only the two of us.  But what we do gain by growing and preserving food is peace of mind.  It gives me peace of mind to have a cache of food.  And it gives me peace of mind to know where my food comes from and how it was grown.
 It's organic,
 non-gmo, 
wholesome food!


Here's a peek....

Freezing...


Canning....


Drying...


crushing red peppers
dried beans

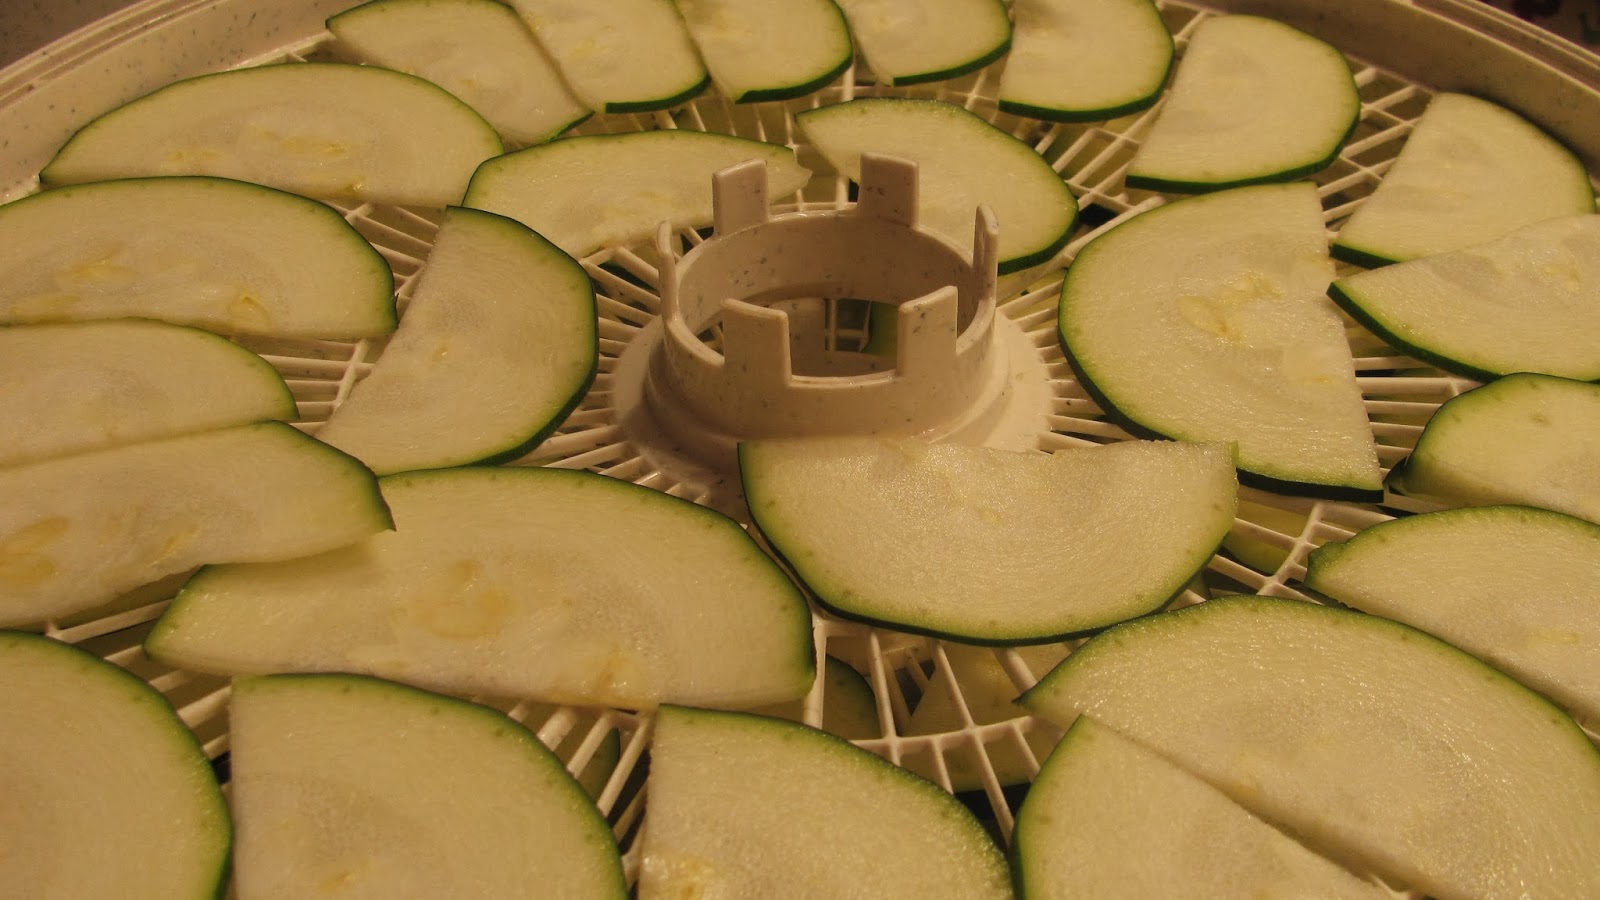
I dried several veggies for use in soups.
This is zucchini.


 SALSA ANYONE? 


POTATOES !  


We also raised sweet potatoes about 2 weeks ago. 
 They are still "curing."


IN MY PANTRY....
salsa, tomato juice, pears,beets, relish, pepper jelly, sauce, homemade vanilla (yum yum) and some dried herbs.


 In the "butler's pantry".......dried tomatoes, cabbage, beets, zucchini, fruit mix, peppers, mushrooms, herbs and more!


IN THE FREEZER.....
We eat a lot of our produce fresh and uncooked as much as possible.  Even so, it's good to know the freezer is filled....corn, beans, peas, pumpkin, blueberries, horseradish, corn soup and more...


In our extra fridge.....


So there you have it. 
We're ready for winter.  
Are you ready?
Do you put food away?  
What do you have in your stash?   


Monday, October 8, 2012

Making Sauerkraut


There are several store bought foods that I just can't stomach. Mostly, because once you've had  homemade, you just can't eat the store bought version.  

One of those foods is
Sauerkraut.

(Red beets and applesauce are also on that list)

We make our own sauerkraut every few years.
And this was the 
Year of Sauerkraut.

Making sauerkraut can be time consuming if you're making a lot.
But oh so worth it.

To begin..

We grew lots of cabbage!


 Unlike years past, it was just me and hubs left to do the job ourselves this year.  (It's one of the few disadvantages of an empty nest.)

We set up "shop" in the garage because making sauerkraut can be quite messy.

 The heads were cut (trimmed off unusable leaves), cleaned and soaked in salt water.....


they were quartered....


.....Shredded, using the Kitchen Aid.


and stomped.

Hubs made his own stomper in
the workshop.  He's tricky
like that!

Hubby stomped the kraut with each  tray of shredded cabbage I added to the crock.  He added a sprinkling of  salt with each layer. 

 I can't give you any exact amount of salt.  

We just stomp, salt, and taste!
Salt is required for the fermenting process.

When the crock is filled (do not overfill)
we add a layer of large leaves (that were remove from the cabbages) over top of the shredded cabbage and  place a dinner plate upside over the cabbage leaves. Then we fill the bottom of a garbage bag with water to create a  kind of bladder to seal the top of the crock.  The seal keeps bugs out but at the same time, allows the crock to release some gas.


Store in a nice warm place.  We left ours sit in the garage for about 3 1/2 weeks. I know this sound gross, but it is necessary for the kraut to "work."
In my experience, sauerkraut tastes best when made in warmer weather.   

 You can taste test it if you wish.  
But be aware, it will taste differently than store bought.  
As with all fermented foods, taste will vary according to external conditions and length of time allowed to ferment.


Homemade sauerkraut can be eaten raw or canned.

I saved some of mine in our extra fridge to eat raw.  Fermented foods are super nutritious.  

But the majority of it was canned and will last a very long time.  


I used my pressure cooker canner .

I packed the sterile jars with sauerkraut.  Packing the kraut down in the jars will create more juice.  Keep the juice poured off until the end.   
(A little juice will be okay.)  


If you've never made your own sauerkraut, I encourage you to give it a try.  It really is good.  You can make a small batch the first time.  My son in law has had success making it in a food grade 5 gallon bucket.  


There you have it.  Sauerkraut 101.  I hope you'll consider growing enough cabbage next year so you too can enjoy 

Homemade Sauerkraut!

linked to 


Printfriendly

LinkWithin

Blog Widget by LinkWithin